


 Facebook
 Instagram
 Twitter
 Linkedin
Contact Us
Udayagiribihar, RBI Colony, Baramunda, Bhubaneswar, Odisha 751003, India
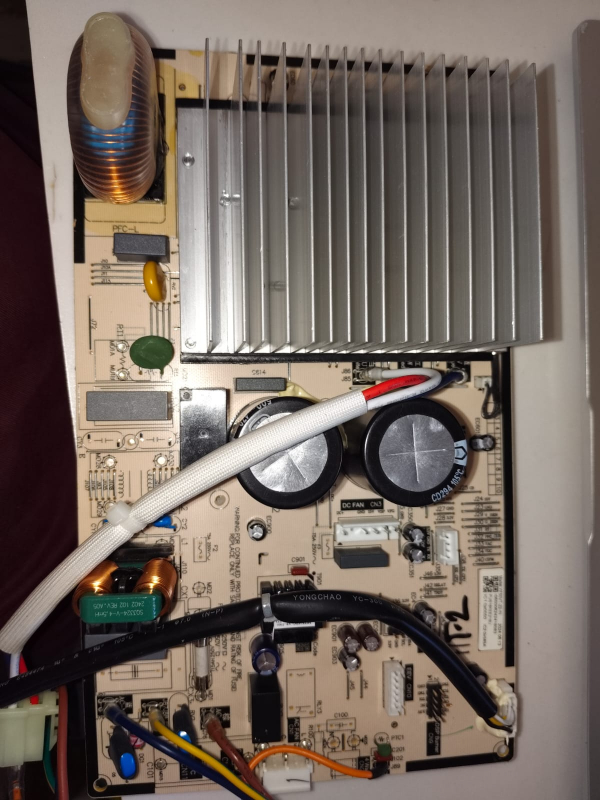
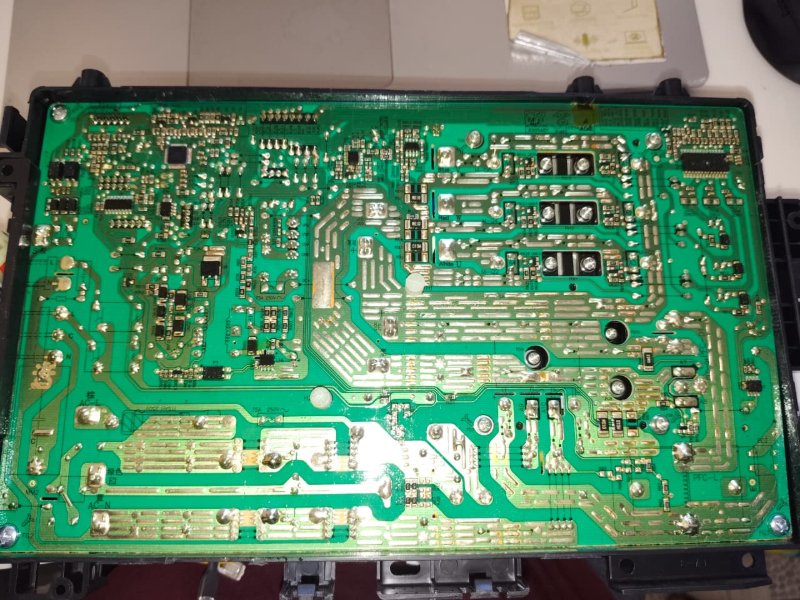
In stock

Udayagiribihar, RBI Colony, Baramunda, Bhubaneswar, Odisha 751003, India


 Select Date Select time
